C Programming Setup & First Program: Install GCC and Write Hello World 2026
C Programming Setup and Your First Program
Before you can write C code, you need exactly two things: a text editor and a C compiler. The compiler translates your human-readable C source code into machine instructions that your processor can execute directly. Unlike interpreted languages such as Python or JavaScript, C programs must be compiled before they run. This compile step is what gives C its performance advantage.
In this lesson, you will install GCC (the GNU Compiler Collection), write your first C program, compile it, and run it from the terminal. By the end, you will understand the edit-compile-run cycle that every C developer uses hundreds of times a day.
Install GCC on Linux
Most Linux distributions include GCC in their default repositories. Open your terminal and install the build tools package.
On Ubuntu and Debian-based distributions:
sudo apt update
sudo apt install build-essential
On Fedora and Red Hat-based distributions:
sudo dnf groupinstall "Development Tools"On Arch Linux:
sudo pacman -S base-develThe build-essential package (or its equivalent) installs GCC, the GNU Make build tool, and standard C library headers — everything you need to compile C programs. Verify the installation by checking the version:
gcc --versionYou should see output like gcc (Ubuntu 13.2.0) 13.2.0 or similar. The exact version number does not matter for this course — any GCC version from 9 onward supports all the features we will use.
Install GCC on macOS
macOS ships with Clang (Apple’s C compiler) that is aliased as gcc. For most purposes, Clang works identically to GCC. Install the command-line developer tools:
xcode-select --installA dialog will appear asking you to install the tools. Click Install and wait for the download to complete. After installation, verify:
gcc --versionYou will see something like Apple clang version 15.0.0. This is Clang, but it accepts the same flags and produces the same output for standard C code. Throughout this course, gcc commands work on macOS without modification.
Install GCC on Windows
Windows does not include a C compiler by default. You have two solid options in 2026.
Option 1: WSL (Recommended)
Windows Subsystem for Linux gives you a real Linux environment inside Windows. Open PowerShell as Administrator and run:
wsl --installAfter rebooting, open the Ubuntu terminal from your Start menu. Then install GCC exactly as you would on Linux:
sudo apt update && sudo apt install build-essentialWSL is the recommended approach because it gives you the same environment as Linux servers and most C development tutorials assume.
Option 2: MSYS2 / MinGW-w64
If you prefer native Windows development, download MSYS2 from msys2.org. After installation, open the MSYS2 terminal and run:
pacman -S mingw-w64-ucrt-x86_64-gccAdd the MinGW bin directory to your system PATH. Then you can use gcc from any Windows terminal.
Choose a Text Editor
You can write C in any text editor. Here are the common choices:
VS Code is the most popular editor for C in 2026. Install the “C/C++” extension by Microsoft for syntax highlighting, IntelliSense, and integrated debugging. Vim and Neovim are terminal-based editors favored by systems programmers. Sublime Text is lightweight and fast. CLion by JetBrains is a full IDE with advanced refactoring and debugging, but it is paid software.
For this course, any editor works. What matters is that you can edit a .c file and run commands in a terminal.
Write Your First C Program
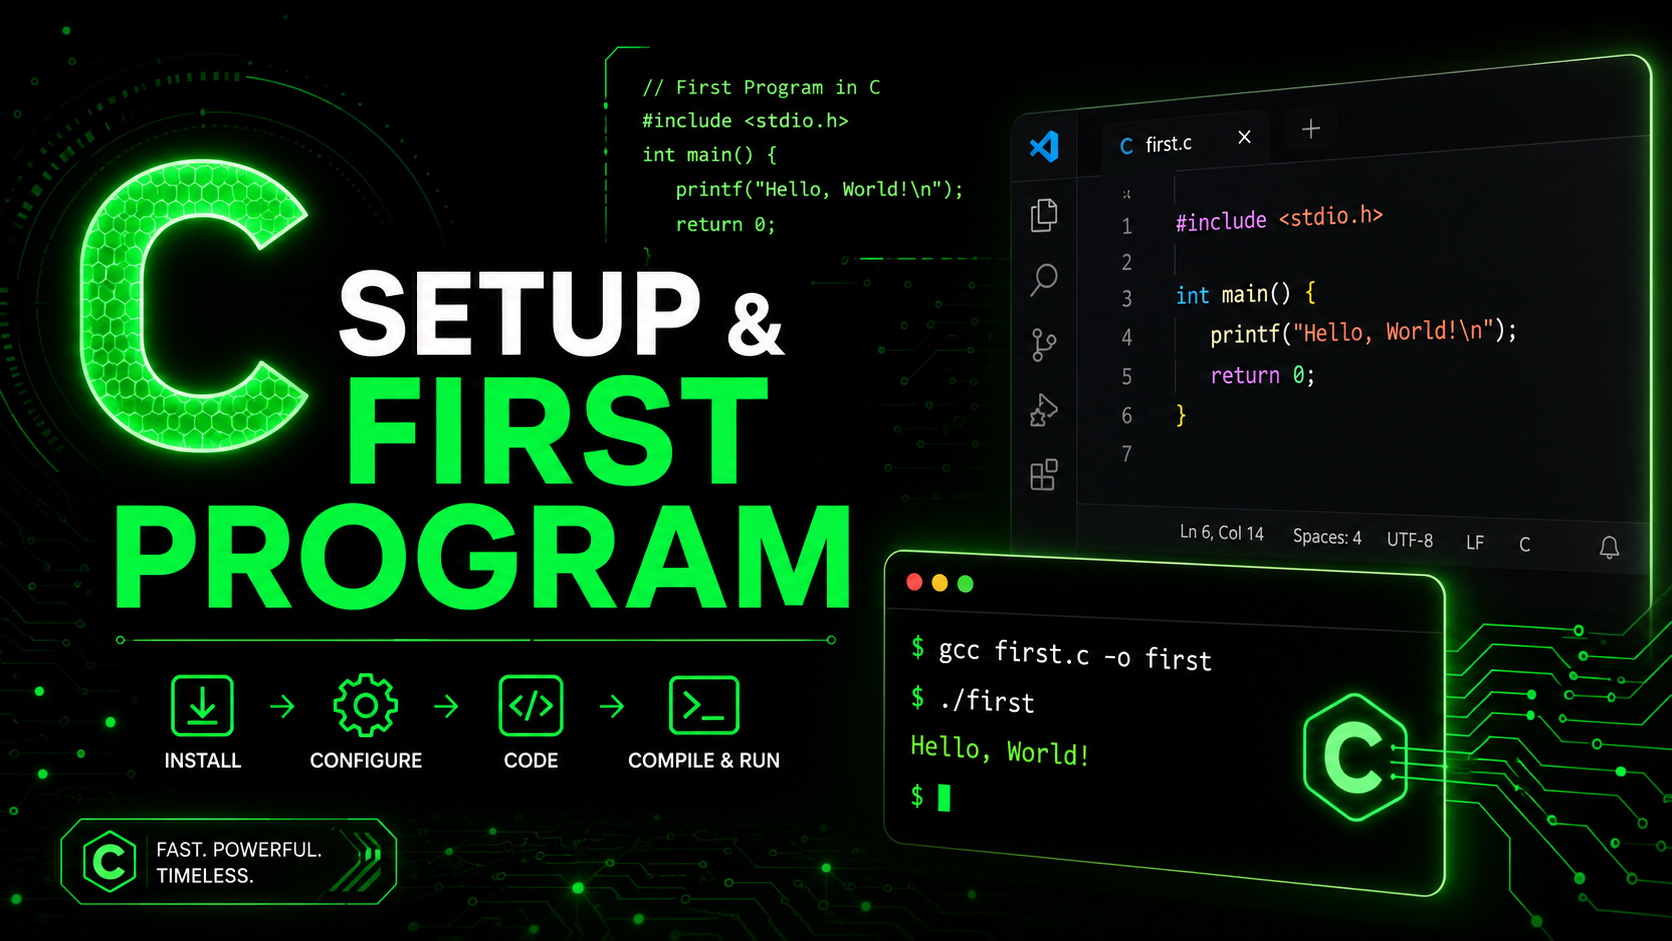
Create a file called hello.c and type the following code:
#include <stdio.h>

int main(void) {
    printf("Hello, World!\n");
    return 0;
}
Let us break down every line because each one matters.
#include <stdio.h>
This line tells the preprocessor to include the Standard Input/Output header file. The stdio.h header declares functions like printf, scanf, fopen, and fclose. Without this line, the compiler would not know what printf is.
The #include directive is processed before compilation begins. The preprocessor literally copies the contents of stdio.h into your file. Angle brackets < > tell the preprocessor to search the system include directories. Double quotes " " would search the current directory first — we will use that for our own header files later.
int main(void)
Every C program starts executing from the main function. This is not optional — the operating system looks for main as the entry point. int means the function returns an integer. void in the parentheses means it takes no arguments. (We will learn about argc and argv in a later lesson.)
printf(“Hello, World!\n”)
The printf function prints formatted text to standard output (your terminal). The \n is a newline character — without it, your output would not end with a line break, and your terminal prompt would appear on the same line.
return 0
The return 0 statement tells the operating system that the program exited successfully. By convention, returning 0 means success, and any non-zero value indicates an error. The shell can check this value with $? (on Linux/macOS) or %ERRORLEVEL% (on Windows).
Compile and Run
Open your terminal, navigate to the directory containing hello.c, and compile:
gcc hello.c -o helloThis command does several things: the preprocessor expands #include directives, the compiler translates C code to assembly, the assembler converts assembly to machine code (object files), and the linker combines object files with the C standard library to produce the final executable.
The -o hello flag specifies the output filename. Without it, GCC defaults to a.out on Linux/macOS.
Run the program:
./helloOutput:
Hello, World!Congratulations — you just compiled and ran your first C program.
Understanding the Compilation Process
The gcc command actually runs four separate stages. Understanding these stages helps you debug compilation errors and optimize your workflow.
Stage 1: Preprocessing
The preprocessor handles directives starting with #. It expands #include files, replaces #define macros, and processes conditional compilation (#ifdef). You can see the preprocessor output with:
gcc -E hello.c -o hello.iThe resulting hello.i file will be thousands of lines long because the entire stdio.h header (and everything it includes) gets expanded inline.
Stage 2: Compilation
The compiler translates preprocessed C code into assembly language for your target architecture. View the assembly output with:
gcc -S hello.c -o hello.sOpen hello.s and you will see your printf call translated to call printf (or bl printf on ARM). This is human-readable assembly — one step above raw machine code.
Stage 3: Assembly
The assembler converts assembly into object code — binary machine instructions in an object file (.o). Generate just the object file with:
gcc -c hello.c -o hello.oObject files contain machine code but are not yet executable. They might reference external symbols (like printf) that need to be resolved by the linker.
Stage 4: Linking
The linker combines your object file with the C standard library (libc) to produce the final executable. It resolves references like printf by connecting them to their implementations in libc. The linker also sets up the program’s entry point so the operating system knows where to start execution.
Essential GCC Flags
Throughout this course, you will use these flags frequently:
# Enable all warnings (ALWAYS use this)
gcc -Wall -Wextra hello.c -o hello

# Maximum warnings — catches subtle bugs
gcc -Wall -Wextra -Wpedantic hello.c -o hello

# Debug build — includes debug symbols for GDB
gcc -g -O0 hello.c -o hello

# Optimized build — for production
gcc -O2 hello.c -o hello

# Specify C standard
gcc -std=c17 hello.c -o hello
The -Wall flag enables most compiler warnings. The -Wextra flag enables additional warnings not covered by -Wall. You should always compile with at least -Wall -Wextra — warnings are the compiler telling you about potential bugs before they bite you at runtime.
Your Second Program: Multiple Statements
Let us write something slightly more complex to reinforce the structure:
#include <stdio.h>

int main(void) {
    printf("=== C Programming Course ===\n");
    printf("Lesson: Setup & First Program\n");
    printf("Status: You are ready to code.\n");

    int year = 2026;
    printf("Year: %d\n", year);

    return 0;
}
This program introduces a variable (which we will explore in detail in the next lesson) and a format specifier (%d for integers). Compile and run it the same way:
gcc -Wall -Wextra second.c -o second
./second
Common Compilation Errors and How to Fix Them
When you start writing C, you will see compiler errors. Here are the most common ones and what they mean.
Undeclared identifier
error: use of undeclared identifier 'prinft'You misspelled printf. C has no auto-correction — every function name must match exactly.
Missing semicolon
error: expected ';' after expressionEvery statement in C must end with a semicolon. The error often points to the line after the missing semicolon, so check the line above too.
Implicit declaration warning
warning: implicit declaration of function 'printf'You forgot #include <stdio.h>. In older C standards, the compiler would guess the function signature — this almost always leads to bugs. Modern GCC treats this as an error by default.
Setting Up a Project Structure
For this course, create a directory to keep all your practice files organized:
mkdir -p ~/c-course
cd ~/c-course
As you progress through lessons, save each program in this directory. By the end of the course, you will have dozens of working programs that serve as your personal reference library.
What Comes Next
Now that your environment is ready, the next lesson covers Variables & Data Types — how C stores integers, floating-point numbers, characters, and booleans in memory. You will learn about int, float, double, char, and the sizeof operator that reveals exactly how many bytes each type occupies.
The foundation is set. Your compiler works. Time to write real C code.